Have you been looking at all your empty feed sacks and wondering what to do with them?Or maybe you saw someone at the farmer’s market sporting a chicken crumble feed bag tote and it got you to wondering
How do you sew a tote out of a feed bag?
- Cut the bottom off an empty feed sack.
- Cut two 3 inch wide loops all the way around the bag and save for the straps.
- Measure bag to desired depth for your tote and cut off extra, leaving enough for the top seam and bottom fold.
- Turn bag inside out, flatten and sew the bottom seam straight across.
- Find the creases on sides of the bag near the bottom seam, and fold up the corners; sew across each corner.
- Cut open the 3 inch loops you saved; measure and cut to 24 inches long; avoid using the thick seam part of the loop. Fold each loop over twice longwise to make 1 inch straps; sew both straps.
- Fold over the top 1 inch of the tote, folding under the ends of the straps at the same time to sew them into the seam; position straps about 6 inches from the edge of the bag on each edge; pin in place. Repeat with the second handle on the other side, lining it up with the first one; pin in place.
- Sew the top seam, going over the handles with the same stride. Turn right side out and it’s ready to use!
If you’re more of a visual learner, continue scrolling below for a more detailed guide complete with PHOTOS!
I will be using a sewing machine, but if you want to give hand stitching a try, you can still follow these directions. Let me know how it goes in the comments!
WHAT YOU WILL NEED:
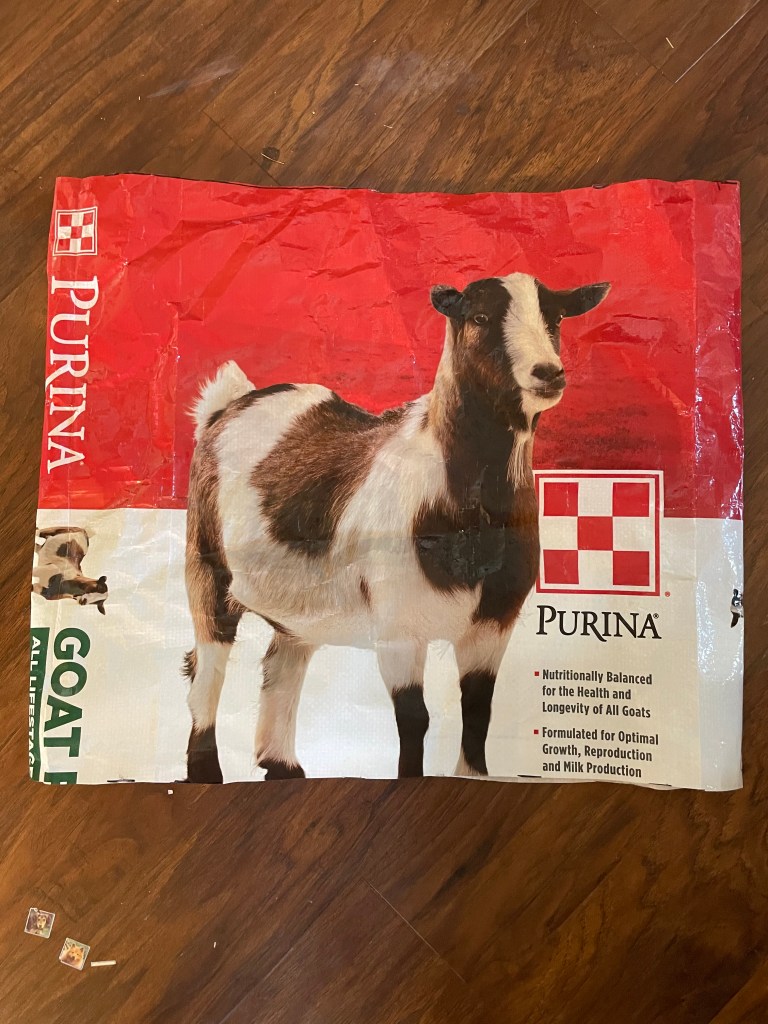
- feed sack
- sewing machine(optional)
- measure tape
- marking pen/permanent marker
- scissors
- all-purpose thread
- pins, or small clips to help hold the seam folds
To get started, grab your feed sack and give it a good hand wash with some warm soapy water and wipe dry. This is optional, but recommended.
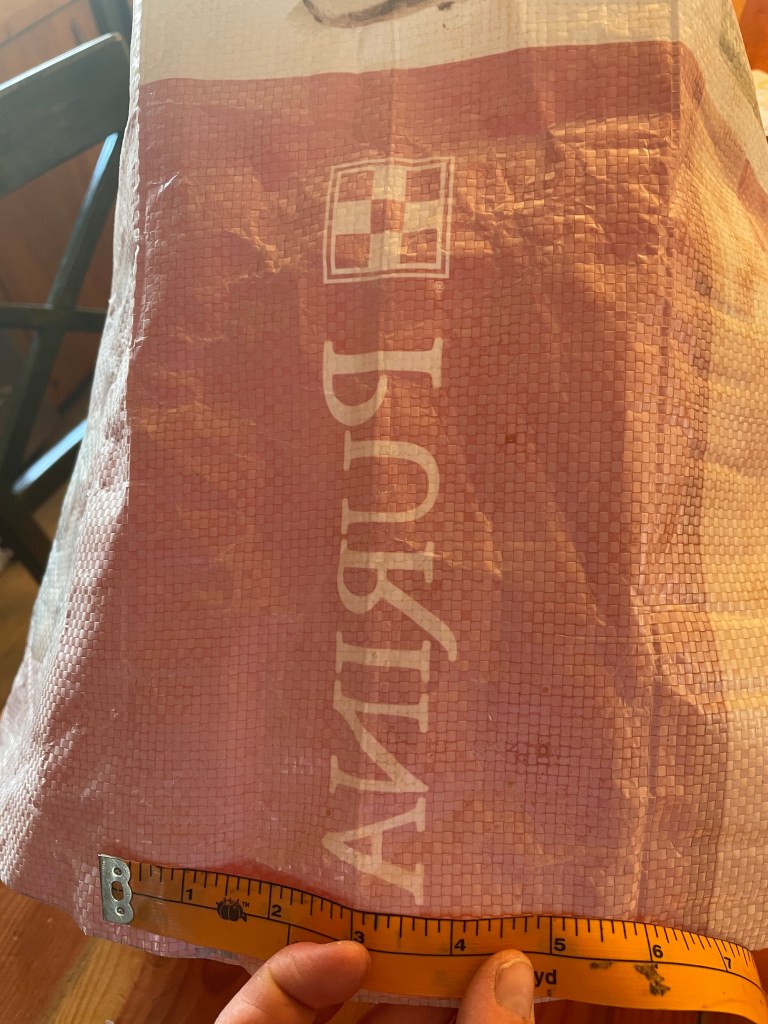
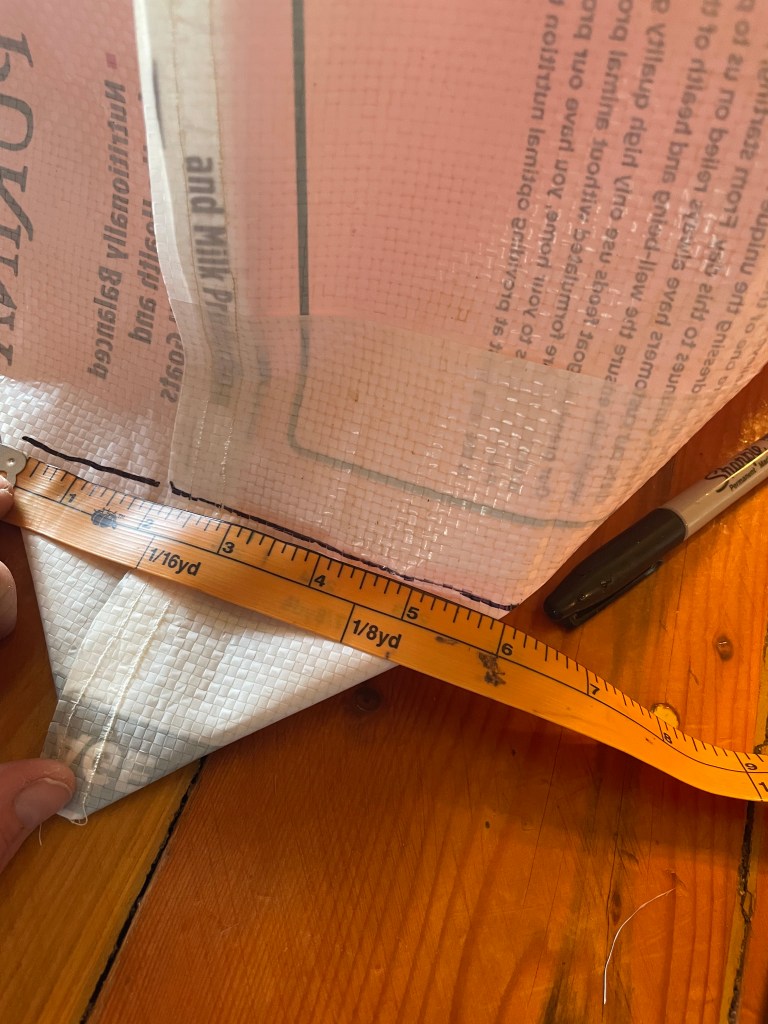
For this Purina Goat Feed sack, I am going to use the top 6 inches to make my straps, because they will be a nice, solid red. You can, however, use the bottom part of the bag to make the straps if you like the situating of the photos and lettering better that way. Each strap will measure 3 inches wide x 24 inches long. Measure three inches in and mark, then measure from that mark another 3 inches in and mark again. You will continue marking all around the sack about every five inches, then take a ruler and make a solid line between the marks to guide you for a clean, straight cut around the bag.

Once you’ve traced two lines around the bag, grab your scissors and cut them around. Once you have two loops, measure and cut each loop to a 24inch strip, paying attention not to use the side seem of the bag where it’s thicker and tough.
From the top of the bag that remains, measure down 17 inches in, and trace around same way you did for the straps. Cut around the bag on the straight line you made.
Turn the bag inside out for sewing. All-purpose thread works fine but I prefer upholstery thread for a stronger option. I set my stitch width to 5 on my machine. I think that the fewer stitch holes the less likely the paper/plastic of the bag will become weak and potentially tear later on where sewn.
Pin across the bottom of the bag to sew all the way across at 5/8 inch.
To sew, gently guide the bag under the foot and help it along if it gets stuck a little. Since the plastic is smooth, the foot can struggle to grip it to move it forward when stitching, so just go slow, be patient and help by pushing the bag under the foot as needed for even stitching.
When you’ve got the bottom sewn, shape your bag(still inside out) and find the side creases and get it squared up. It should stand upside down on the table. Measure the sides of the bag from crease to crease(on this bag it’s 6 inches).
To match the bag side’s width and be square, measure 6 inches(adjust length for your bag as needed)across on the corner fold of the bag and make a straight line. Sew straight across the line. Tip: if you sew all the way to the edge you can just tie and knot the ends together and don’t bother pulling the string through to knot. Saves time! When you do the opposite side, be sure you have the bottom seam flipped in the same direction to avoid a twisted seam in the bottom of the bag. It won’t affect the function of the bag, just drive you nuts if you are a perfectionist!

Grab those strips to make your straps. Fold each in thirds, folding under the blemished, perforated side or any unwanted lettering and pin in place. Sew the folded strips (they should be about 1 inch wide).Knotting the ends is optional as you will be folding them under the inseam of the bag.

Lay your bag flat with sides showing evenly on each end to the creases. Roll up a one inch seem. Measure 6 & 1/2 inches from the side of the bag toward the center, and mark.

The strap will go just to the left of your 6 & 1/2 inch mark as shown above, seam side facing up.
You want the sewn (ugly)side of the strap facing up where it joins the bag because this is the inside. The pretty sides will show when it’s all done and right side out.
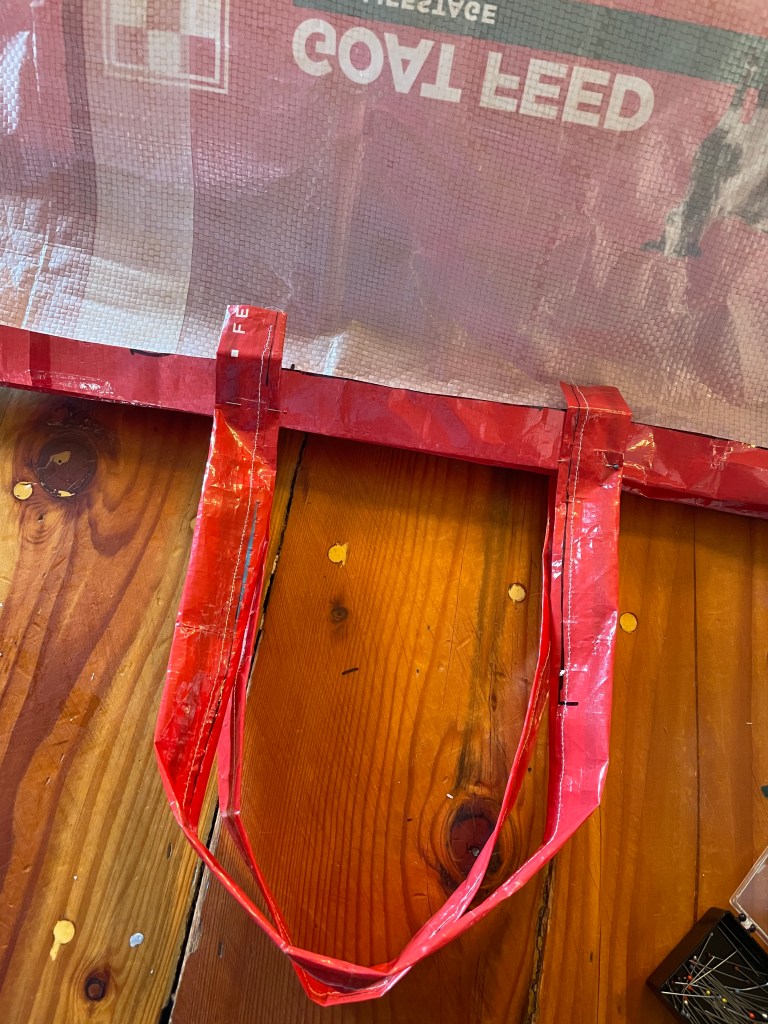
It can be hard to pin through the straps, but it’s necessary to hold it in place and keep things straight. As you can see, i didn’t pin through the whole strap. I can fold it under when I get there, but this will be enough to hold it in place for now. Don’t stress. No need to measure for the second strap, just flip over the bag and line it up with the other one.
Begin sewing around the entire bag once nearest the bottom of the folded seam catching just the bottoms of the straps that are folded under. Knot your ends.
Now, you will want to go back to each strap separately and sew an hourglass shape to reinforce their attachment to the bag.

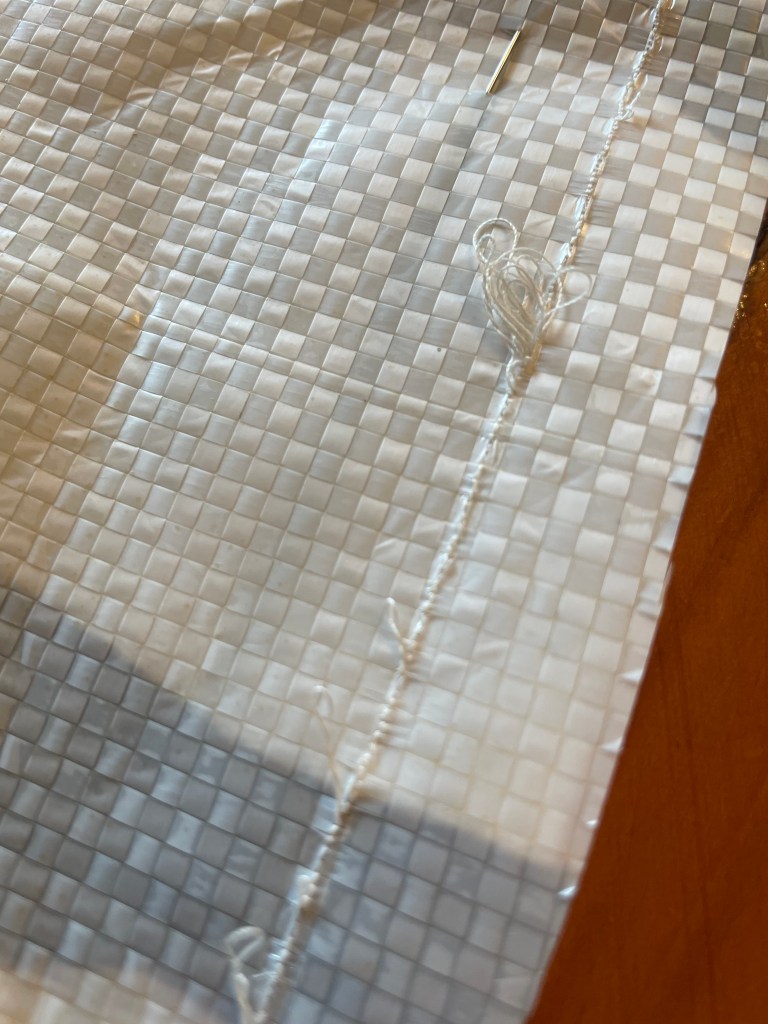
See where the knot is on the lower left corner of the hour glass? That’s point 1 where you will start. Work across first, to the upper right corner to point 2. Then work down to lower right corner point 3 of the hourglass. For the next step, going from point 2 to 3(the upper left corner), I like to use the reverse sewing mode. It saves you from a lot of re-situating. Then the final stride back to point 1. Cut and knot the ends, and move on to the next strap to do each one separately. If the hour glass sewing seems too tedious, you may choose to simply sew around the entire bag seam again, sewing the straps on the upper side this time as you go around. I personally like the look of the hourglass or ” barn door” sewing, but it’s all just preference.
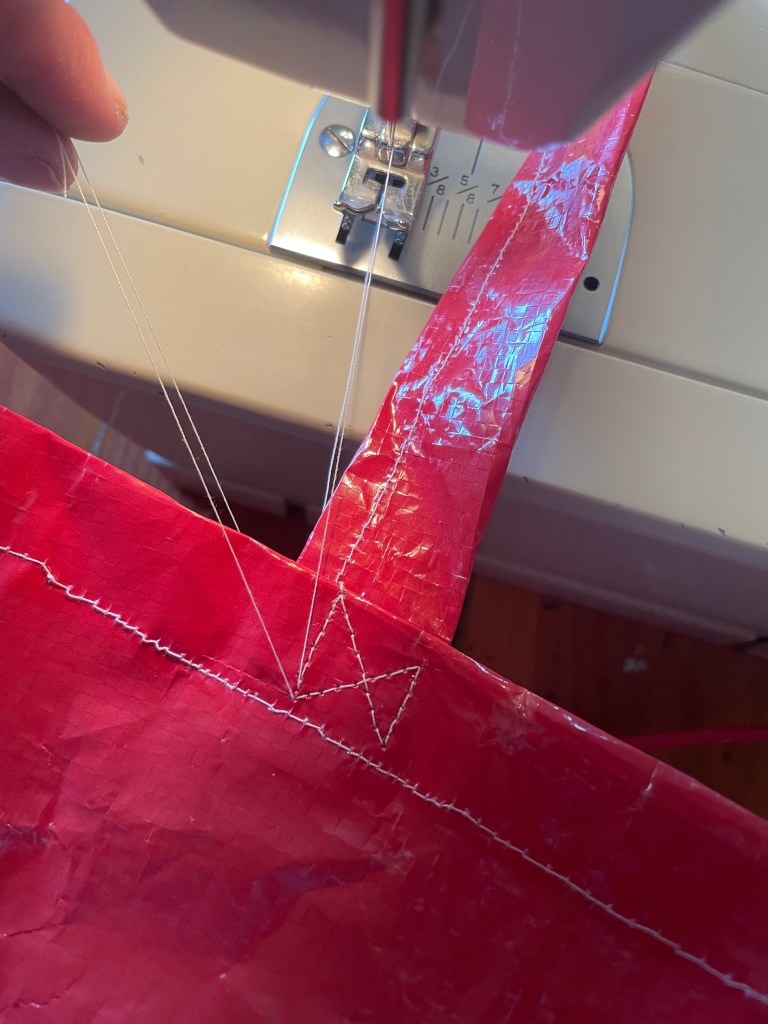
While you are sewing the hourglass, you need to keep the strings out of the way, especially on the last stride, you will want to hold them gently taught away from your stitching as you sew to prevent entangling underneath. Cut and knot the ends. I do not recommend the “back and forth” knotting method because the bag, being plastic, may be more prone to tear if there are too many holes created by sewing in the same spot.
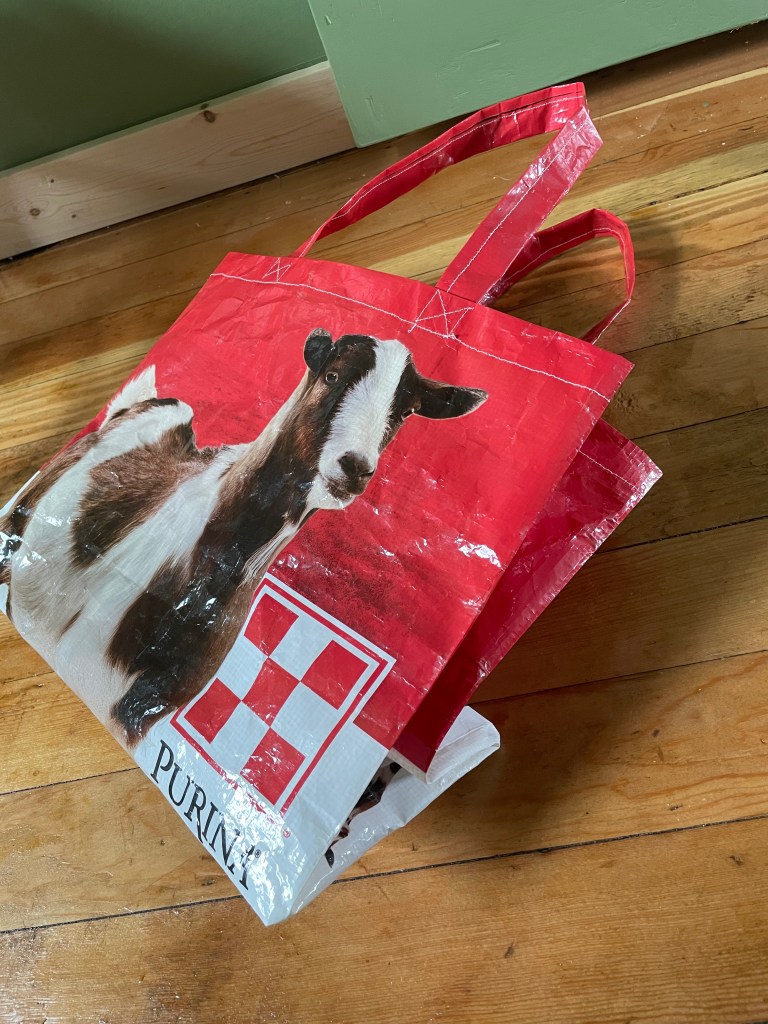
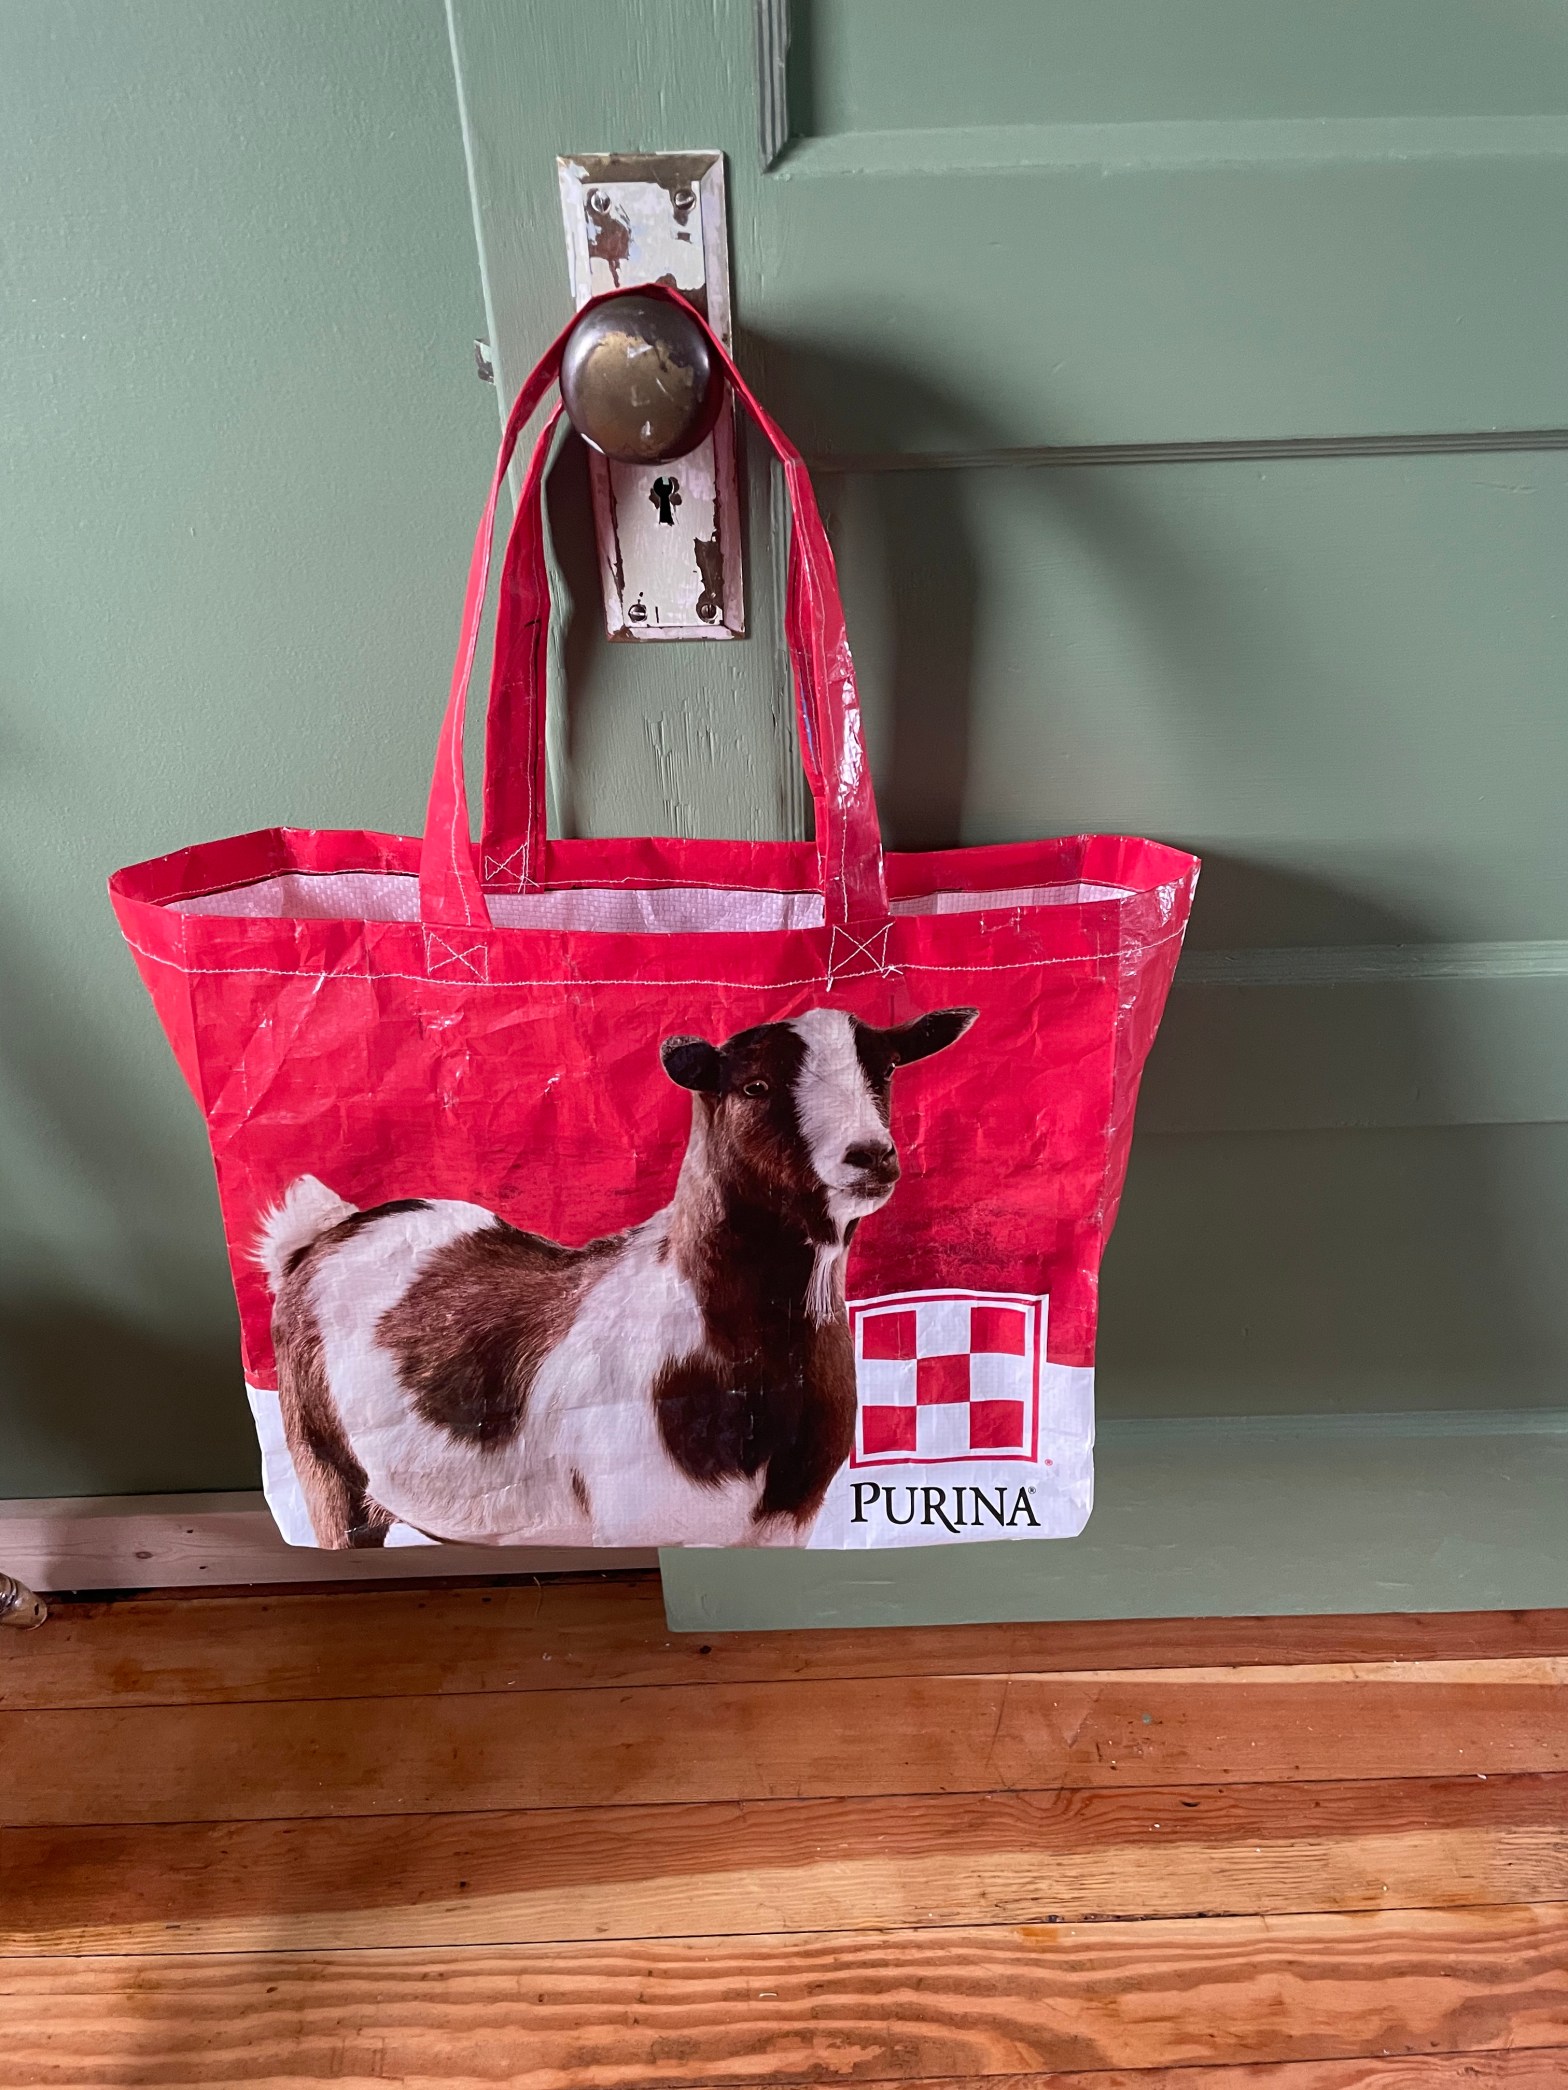
And you’re to the last step, which is simply to straighten out your bag, turning it right side out and pushing into the corners to get it square. Don’t forget to flip your handles to show their pretty sides too. And you did it! I’m so proud of you.
Let me know how your project turned out in the comments below! If you’re a visual learner and would appreciate video tutorials from me, leave a comment!
P.S. I encountered a problem during this project and you might have noticed a few loops on the underside of my sewing. After beginning to get frustrated and blaming the plastic material for the messy looping, I opened my bobbin case to discover it was all in a wad and tangled up down there! Once i resolved that, it sewed smooth as can be. It wasn’t the plastic after all, though working with the plastic did take some getting used to.